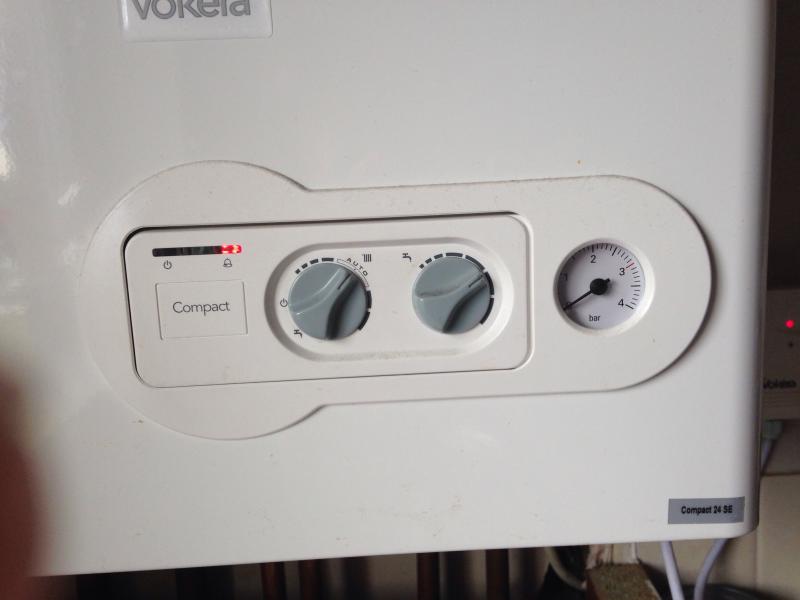
To adjust the pressure on your boiler, you will need to locate the pressure gauge and pressure relief valve. The pressure gauge is typically located on the front of the boiler and looks like a small dial with markings in pounds per square inch (PSI). The pressure relief valve is a small lever or knob that is typically located near the pressure gauge.
To adjust the pressure, follow these steps:
- Locate the pressure gauge and the pressure relief valve on your boiler.
- Check the pressure on the gauge. It should be between 1 and 2 bars (or between 15 and 30 PSI). If the pressure is outside of this range, it will need to be adjusted.
- To raise the pressure, locate the pressure relief valve and turn it clockwise using a flat-head screwdriver. This will release some of the excess pressure and allow you to adjust the pressure to the correct level.
- To lower the pressure, locate the filling loop on your boiler. This is a small hose with a valve at each end that is typically located near the bottom of the boiler.
- Turn off the power to your boiler and allow it to cool.
- Open the valve on one end of the filling loop and attach a hose to the other end. Place the other end of the hose into a container of water.
- Slowly open the valve on the other end of the filling loop to allow water to flow into the system. This will lower the pressure in the boiler.
- Keep an eye on the pressure gauge and stop adding water when the pressure reaches the desired level.
- Close the valves on the filling loop and remove the hose.
- Turn the power back on to your boiler and check the pressure again to ensure it is at the correct level.
It is important to exercise caution when adjusting the pressure on your boiler, as over-pressurizing the system can cause damage. If you are unsure about how to adjust the pressure on your boiler, it is recommended that you contact a professional heating technician for assistance.